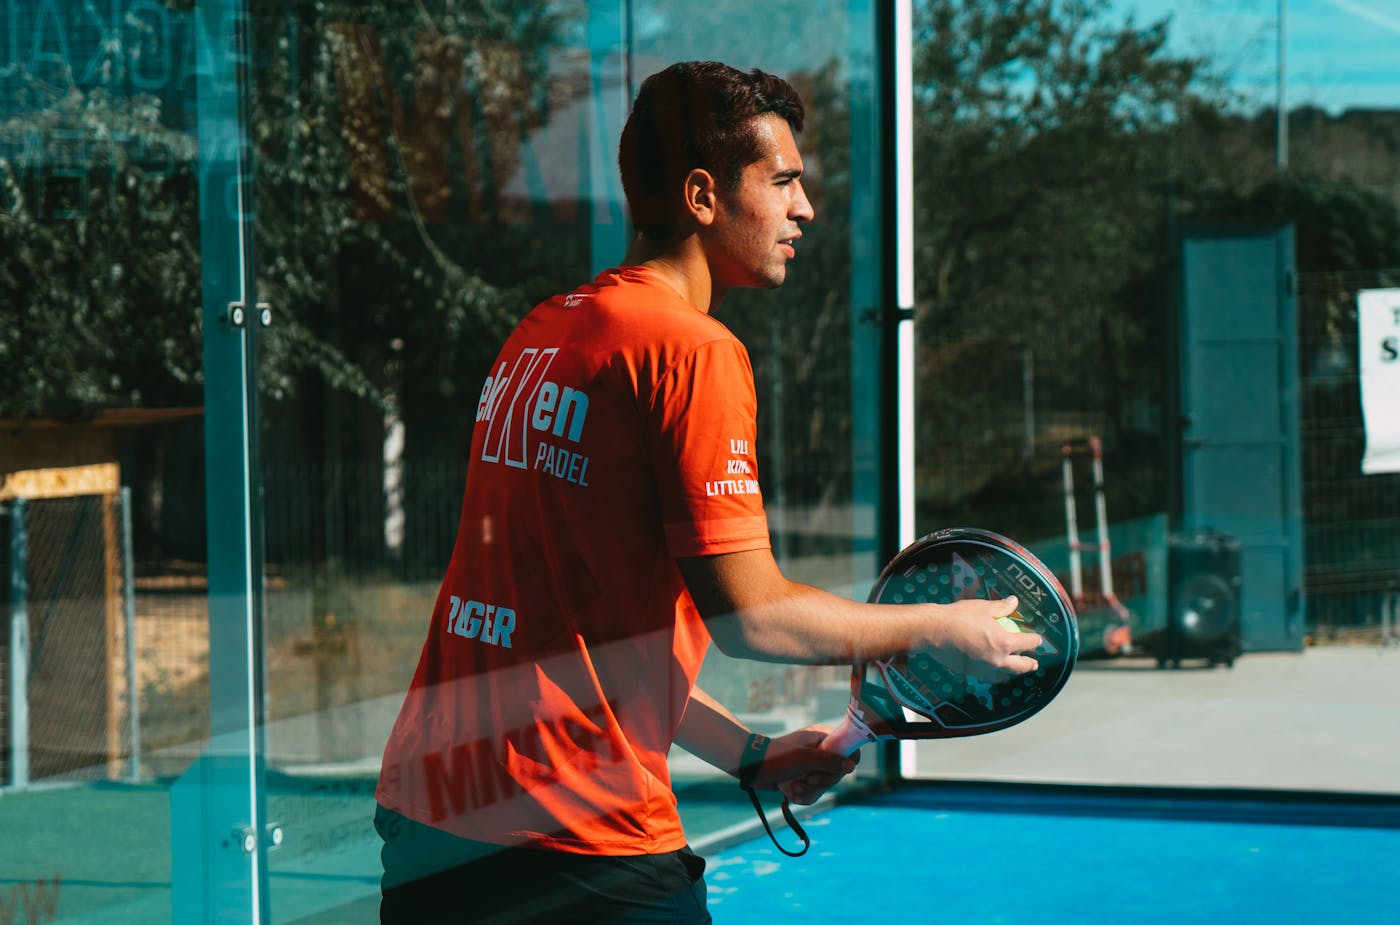
If you often feel half a step late in padel, practise the split-step as a timing skill rather than as a jump. A split-step is a small, balanced landing just before your opponent contacts the ball. It gives you a stable base from which to push towards a volley, a glass rebound, a lob, or the middle.
The useful cue is simple: land as the opponent hits, then take the first step towards the ball. Landing too early leaves you waiting. Landing after the ball has travelled makes the movement a reaction from a dead stop.
This guide is for improving players who understand the basic shots but lose time between the opponent’s contact and their own first movement. It gives you a four-stage progression you can run in a normal session, plus a scorecard for deciding when to make the exercise harder.
What should the split-step look like in padel?
Start from a comfortable ready position: feet about hip-width apart, knees soft, racket in front, and weight balanced enough to move either way. Make a small lift or unweighting of the feet, then land quietly on both feet. The movement should be compact. You are not trying to jump high or travel forwards; you are preparing the next push.
The split-step only helps when it is connected to a decision. After landing, your first movement might be:
| Situation | Contact cue | First action | Common mistake |
|---|---|---|---|
| You are at the net and the opponent drives | Land as the racket meets the ball | Push sideways or slightly back, keeping the racket ready | Leaning forwards and crossing the feet before reading the ball |
| You are defending a ball that may use the back glass | Land at the opponent’s contact | Take space early, then adjust as the bounce and glass line become clear | Standing too close to the wall with no room to change direction |
| The opponent lobs from the back | Land on contact, then turn and move | Use the first step to turn towards the correct side before tracking the lob | Jumping straight up and turning only after the ball is overhead |
| You have just played your own shot | Recover first, then split as the opponent prepares | Rejoin your pair’s defensive or attacking shape | Admiring the shot and trying to split-step while out of position |
“Contact” means the opponent’s racket-ball contact, not the bounce on your side. In a rally you may make a second adjustment after the bounce, but the first split-step should help you read that information from a balanced base.
LTA Padel’s beginner guidance makes the same broader point: keep movements short and reactive, stay ready to push either way, and leave enough space to change direction when using the glass. A split-step is one way to turn that ready position into a repeatable habit. It is not a substitute for learning where you and your partner should stand; use the padel positioning basics guide alongside this progression.
A four-stage split-step progression
Move to the next stage only when you can land quietly, identify the direction, and recover without losing your shape. Quality matters more than a high repetition count.
1. Shadow timing and freeze
You need no ball for this stage. Stand in a net or defensive position with a partner acting as the opponent.
- Your partner points a racket at an imaginary contact point and says “hit”.
- Make a small split-step and freeze the landing for one second.
- Your partner calls “left”, “right”, “back”, or “forward”.
- Take one controlled first step in that direction, then return to your base.
Complete two sets of 10 calls. Score one point when your landing is quiet and balanced, and a second point when the first step goes in the called direction without crossing your feet. If you cannot hold the freeze, make the lift smaller rather than jumping higher.
2. Partner contact cue without a ball
Now replace the word “hit” with a visible cue. Your partner makes a short racket swing and you split-step at the imagined contact. Keep the direction unknown until after you land.
Use three sets of eight repetitions, mixing net and back-court starting positions. The partner should vary the rhythm slightly, but not rush you. This stage teaches you to watch the opponent’s action rather than count your own steps.
Coach’s check: if you land before the swing reaches contact, ask your partner to pause longer at preparation. If you land after the swing, reduce the size of the lift and watch the contact point, not the backswing.
3. Feed, first step, and recovery
Add a controlled ball feed, but keep the decision narrow. The feeder chooses one of three intentions:
- a manageable drive for a volleyer;
- a ball that will rebound from the back glass;
- a lob that requires a turn and recovery.
The player splits on contact, takes the first step, plays the ball with control, and returns to a useful base. Run three sets of six feeds, with a short pause between sets. For the glass feed, give yourself space as the ball travels; the split-step is the start of the read, not a command to sprint directly at the wall.
Use the return and first-volley drill if you want to connect this stage to a real return transition. It already asks the returner to move forward only after a balanced return and to split-step before the first volley.
4. Constraint points
Finish with points where the split-step has a consequence. Play a short game starting with a serve or a cooperative feed. After each point, the player or coach gives themselves up to three marks:
| Mark | Question |
|---|---|
| Timing | Did I land just before the opponent’s contact? |
| Direction | Did my first step match the ball and keep my racket ready? |
| Recovery | After my shot, did I return to a useful position with my partner? |
Play to 10 points, recording the three marks after each rally. Do not chase a perfect score. Look for the first failure in the sequence. If timing is usually good but direction is poor, keep the split-step and practise the read; if direction is good but recovery is poor, slow down the shot and reconnect with your pair’s shape.
How do you know when to make it harder?
Use this progression rule instead of adding speed at random:
- Stable landing: you can freeze without a heel-heavy or wide landing.
- Correct first step: your first movement responds to the ball, not to a pre-planned pattern.
- Useful recovery: you finish the shot in a position that gives you and your partner a next option.
- Unpredictable cue: a partner can vary timing and direction without your balance collapsing.
If one of these breaks down twice in a row, return to the previous stage for a few repetitions. The goal is not to look busy. It is to arrive at the next contact with more time and more choices.
Common split-step errors
Splitting on your own rhythm
Counting “one-two” can help in a shadow exercise, but it becomes a problem when the opponent changes tempo. Replace the count with the contact cue as soon as you can.
Jumping too high
A large jump creates a large landing and delays the push. Keep the movement quiet enough that your partner can hear the racket contact, not your feet.
Starting from a poor base
The split-step cannot fix standing too close to the glass, leaving a gap in the middle, or drifting away from your partner. Check the positioning guide before adding more repetitions.
Taking the first step without reading the ball
Split-step does not mean “always go forwards”. The first step may be sideways, backwards, or towards the middle depending on the opponent’s shot and your pair’s shape.
Reviewing only the shot result
A ball that lands in can still follow a late or unstable movement. The useful sequence is landing, first step, contact, and recovery. If the ball goes out, identify which part of that sequence failed instead of labelling the whole rally as a bad shot.
A 20-minute session you can repeat
| Minutes | Work | Success check |
|---|---|---|
| 0–3 | Easy movement and ready-position rehearsal | Racket in front; small, quiet steps |
| 3–7 | Shadow timing and freeze | 16 of 20 landings balanced |
| 7–12 | Partner racket-contact cue | First step waits for the cue |
| 12–17 | Controlled feeds: drive, glass, lob | Recover after each shot |
| 17–20 | Constraint points | Record timing, direction, recovery marks |
The numbers are a practice template, not a performance benchmark. Adjust the volume for your group and court time. If fatigue makes the landing noisy or your footwork loses control, stop the progression and reset.
What does padel research say about the split-step?
The evidence is useful for context, but it is not a promise that one drill will make every player faster. A 2014 peer-reviewed study by Priego and colleagues used pressurometric analysis of a head-on displacement and a split-step, alongside video of two padel games. The authors highlighted the importance of the forefoot in padel movements and discussed padel-specific footwear and neuromuscular or proprioceptive training. The study describes movement demands; it does not establish a universal repetition target or prove that a particular shoe or exercise prevents injury. Read the published abstract for the method and limitations.
That is why this guide starts with timing and decision-making rather than a generic agility ladder. LTA Padel’s practical advice to stay on your toes, use short side steps, and leave space to change direction supports the same on-court emphasis. The progression then adds a ball and a live opponent cue so the skill remains connected to padel.
How can Padel Coach App help you review it?
Record one camera angle that shows both your feet and the opponent’s contact. After the session, upload two or three short clips and tag four moments: split-step landing, first step, ball contact, and recovery. Compare one clip from the first stage with one from the constraint points. If the landing is early or the recovery drifts, choose that as the next session’s single focus rather than trying to fix every movement at once.
For a simple recording setup, see how to record padel video for useful analysis. You can also use AI video analysis for padel to organise clips and questions for a coach. The app can help you review patterns; a qualified coach is still the right person to assess technique, pain, or an individual return-to-play plan.
Frequently asked questions
Should I split-step before every padel shot?
Treat it as a response to the opponent’s contact when you need to be ready to move. You do not need a theatrical jump before a slow, obvious ball, and your own recovery step may matter more than forcing a split-step.
Is a split-step the same as a ready position?
No. The ready position is the base posture and court location. The split-step is the small timed landing that lets you push from that base as the opponent makes contact.
Can I practise it alone?
You can practise the landing and first step with a mirror, wall feed, or self-called racket cue, but a partner gives you a more useful contact signal. Progress to unpredictable feeds before judging whether the timing transfers to points.
Should I use a ladder drill instead?
A ladder can add coordination, but it does not recreate an opponent’s contact cue, ball flight, or recovery decision. Use it as a warm-up only if it helps you arrive on court ready; make the main progression padel-specific.
The split-step is a small movement with a demanding job: make your next decision possible. Practise it from a quiet landing, connect it to the opponent’s contact, and judge it by the quality of your first step and recovery—not by how high you jump.
Learn how our guides are researched, prepared and checked in our editorial policy.