
For useful padel video analysis, mount your phone in a stable position behind one end of the court, high enough to see over nearby obstructions, and frame all four players plus the back corners. Record long enough to capture repeated examples of the same situation. If you are studying one stroke rather than team tactics, add a shorter side-on clip where the whole player and racket remain visible.
The best angle is not necessarily the most dramatic one. A steady, wide view that shows where players start, move, hit and recover is usually more valuable than a close-up that loses the ball or the other three players.
Choose the angle from the question you want to answer
Decide what you want to learn before setting up the camera. A single clip cannot show every technical and tactical detail equally well.
Behind the court for positioning and point patterns
A wide view from behind one baseline is the strongest single-camera option for most match review. It can show:
- the distance between partners;
- movement from defence to the net;
- who covers the middle;
- recovery after a volley or overhead;
- shot direction and the next ball.
Place the phone near the centre line of the court where possible, while keeping it outside the playing area and clear of gates, walkways and emergency access. The FIP Rules of Padel define a court as 10 metres wide and 20 metres long, so a centred end view has to cover meaningful lateral movement as well as the full court depth. Check all four corners in the preview before you start.
Side-on for one player’s technique
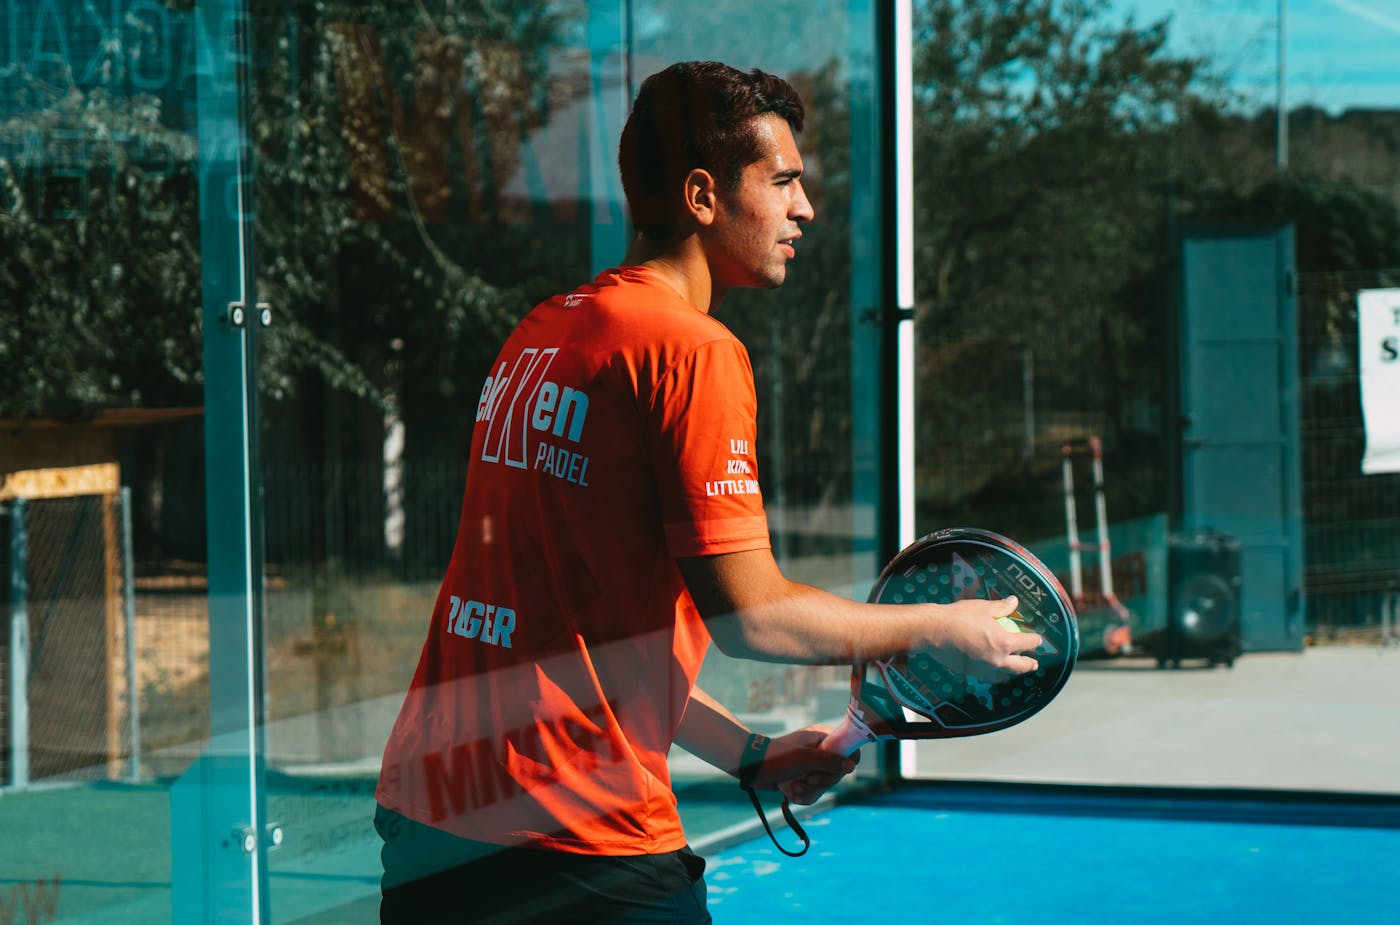
A side view is useful when the question is about preparation, contact point, balance or recovery in a particular stroke. Keep the entire player and racket in frame before, during and after contact. Do not zoom so tightly that the feet disappear; movement into and out of the shot is part of the technique.
Side-on clips work well for a serve, volley or repeated feed. They are less useful for understanding how a pair moves through a full point because the far player and court depth can be difficult to read.
A diagonal angle as a compromise
If the fence, glass or venue layout blocks a centred position, a stable diagonal angle can still be useful. Check that the near player does not hide the far player for most of the rally. Treat the angle as a practical compromise, not a reason to put equipment somewhere unsafe.
Set up the phone before players begin
Use a fixed mount or secure support rather than holding the phone. An LTA-affiliated coaching service’s video-submission guidance similarly recommends a stable camera, filming from behind the baseline or from the side, and keeping the whole player and racket visible.
Run this quick setup check:
- Clean the lens.
- Use landscape orientation for a wider court view.
- Frame the whole court area you need before zooming.
- Lock the phone in a stable mount that cannot fall into play.
- Check available storage and battery.
- Record a short test and watch it back at normal size.
- Confirm that players, the ball and court lines remain visible in the light available.
If bright glass or overhead lighting makes players look too dark, tap the playing area to set exposure before the match. Avoid moving the camera during rallies. Consistency makes it easier to compare position from one point to the next.
How high should the camera be?
Raise the camera enough to reduce blockage from the back fence, nearby spectators and the players closest to it. The correct height depends on the court construction and the safe mounting options the venue allows.
Before committing to the angle, ask one player to stand in each back corner and another at the net. If any of them disappear from view, adjust the height, distance or framing. A higher angle often improves tactical context, but a very distant player may become too small for detailed stroke review. That is why a wide match clip and a separate closer technique clip serve different jobs.
Never attach equipment to glass, fencing or court structures without the venue’s permission. Keep tripods and mounts out of the run-off area and away from doors. If a club has a fixed recording system, use its approved process instead of improvising a mount.
Record enough repetitions, not endless footage
One spectacular rally rarely reveals a reliable pattern. Capture several examples of the same question:
- five to ten returns if you are reviewing return position;
- repeated overheads if you are checking movement under the lob;
- several defensive points if you are studying use of the back glass;
- a sequence of service games if you are reviewing the first two shots.
Long footage is only useful when you can find the relevant moments. Make a simple note after play—such as “second set, deuce game, three late returns”—or trim a working copy to the points connected to your question. Keep the original if you may need the wider context later.
Our guide to what to track after every padel match gives you a short structure for deciding which repeated pattern deserves attention first.
Match footage and technique footage answer different questions
Use match footage to examine decisions and movement between shots:
- Did both partners move forward together?
- Was there space behind the net pair for a lob?
- Did the defender recover after using the glass?
- Which shot repeatedly gave away court position?
Use a controlled technique clip to examine one repeatable action:
- Was the racket prepared before the bounce?
- Where was contact relative to the body?
- Did the player recover before the next feed?
The return and first volley drill and beginner volley control drill are useful examples of structured situations that are easier to compare across several repetitions than an unpredictable highlight reel.
Get permission before recording or sharing
Ask every player before recording. Also check the club’s filming policy, especially when other courts, spectators or staff may be visible. For children and young people, follow the venue’s safeguarding process and obtain the appropriate parent or guardian permission.
Agree where the clip will be stored, who can view it, and whether it can be posted publicly. Permission to analyse a private clip is not automatically permission to publish it on social media. Avoid recording conversations around the court unnecessarily, and delete copies you no longer need.
Turn one clip into one useful training focus
Watching a full match without a question can produce a long, unhelpful list of faults. Start with one situation, review several examples, and write down the clearest repeated pattern.
For example:
- Review eight returns from the behind-court angle.
- Notice that contact is often late when the serve reaches the side glass.
- Choose return preparation as the next training focus.
- Record the same situation again after practice.
- Compare preparation and contact rather than judging only whether the return landed in.
Padel Coach App can support this workflow by analysing a useful clip and helping connect the feedback to a focused drill and progress record. The important part is the loop: capture, review, practise and compare. Our broader guide to using AI video analysis for padel explains how to keep that loop focused rather than treating one clip as a complete verdict on your game.
Recording questions answered
Should I record in portrait or landscape?
Landscape is normally better for a full-court view because the court and four players spread across the frame. Portrait can work for a close single-player demonstration intended for social media, but it is more likely to crop tactical context.
Do I need a dedicated camera?
No. A phone can produce useful review footage when it is stable, safely positioned and framed for the question. A better angle and repeated examples usually matter more than buying equipment first.
Should I film the entire match?
You can, but you do not always need to. Record enough continuous play to see repeated patterns and the events before and after each shot. For a technical question, a shorter block of purposeful repetitions may be easier to review.
Is slow motion always better?
Slow motion can help with a brief contact sequence, but normal-speed footage is essential for timing, recovery and tactical decisions. Review normal speed first, then slow down only the moment that needs closer inspection.
What if fencing hides the ball?
Move the camera higher or farther back only if the new position is safe and permitted. Test the view with players in the corners. If the fence still causes interference, prioritise the clearest repeatable angle and add a second short clip for the missing detail.
A useful recording is a repeatable one
Save the approximate camera position that worked, or take a setup photo after the session. Using a similar angle next time makes comparison more honest. You are then judging a change in movement or decision-making, not a change created by a completely different viewpoint.
For a first review, keep it simple: one safe camera position, one clear question and several comparable examples. That is enough to turn a phone recording into a practical next step. If positioning is the theme you find, continue with padel positioning basics before your next session.
Learn how our guides are researched, prepared and checked in our editorial policy.